WorkFront Resources
WorkFront Login
Login URL: https://synnex.my.workfront.com/login
For optimal performance use Google Chrome as your browser.
Once your manager has provided your email address to MarCom you will be added to WorkFront and will receive a notification inviting you to start using the platform.
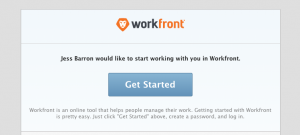
When you click the “Get Started” button you will be prompted to create a password.
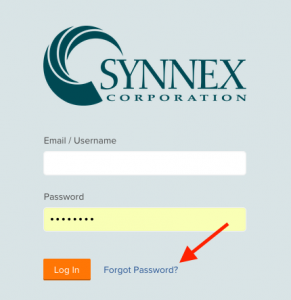
After you have activated your account and created a password, if you ever need to reset your password use the “Forgot Password?” link on the login screen.
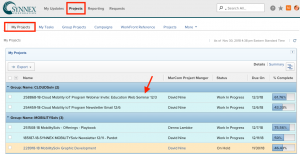
Main Menu - Projects
My Projects
The default screen is the Projects page, with the My Project dashboard. This is the first screen you will see when you log on. This screen will show you a list of projects that you have entered and the status. You can click directly into a project from this screen.
My Tasks
The My Tasks tab lists email projects that you have submitted with reminder dates to request information from vendors and when content is due for each email.

Group Projects
The Group Projects tab shows all of the projects that have been entered by anyone on your team. This is useful if someone is out of the office unexpectedly or if someone goes on vacation. Projects are grouped by vendor and show who entered the project.
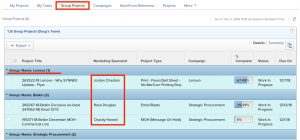
Project Overview
Documents
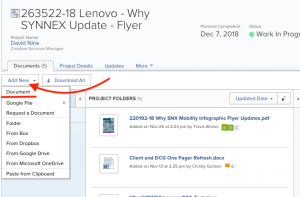
Within a project, the default screen will be the Documents tab. You can add documents by drag and drop or by selecting Add New -> Document.
Updates
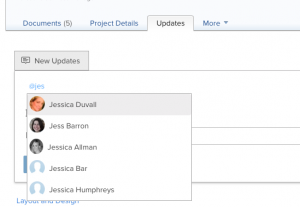
The Updates tab is where you add comments regarding the project. All comments need to be entered into WorkFront to ensure everyone on the project has access to the information. When sending an Update make sure to tag someone in the comment. If you do not then no one will be notified that you have provided an update to the project. To tag someone on an Update you can either type in the @ and start typing in a name or you can start typing the name into the Notify field. In both cases, WorkFront will give you a list of names based on what you have started typing.
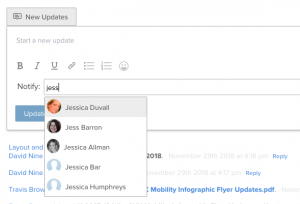
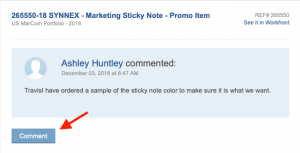
Everyone that is tagged in an update will receive an email in Outlook with the comment. You can reply to the update by clicking on the Comment button within Outlook and you will be directed to the comment within WorkFront.
Requests
How to Enter a Request
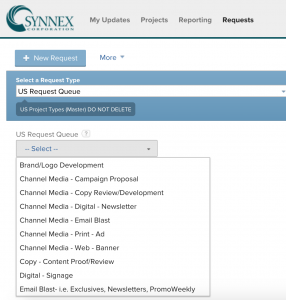
From the main menu select Requests. Once on the Request screen select US Request Queue in the “Select a Request Type” field (this is the only option for the field). Then you will be prompted to select the project type that you would like.
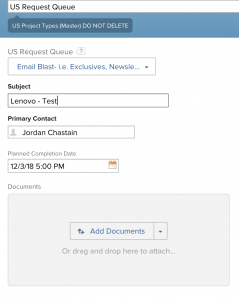
Once you select a project type you will be prompted to answer questions pertaining to the specific project type selected. This screen is also where you will upload your documents/instructions for the project.
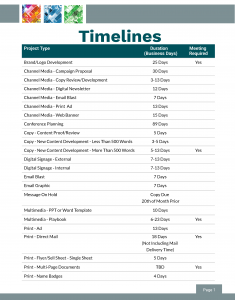
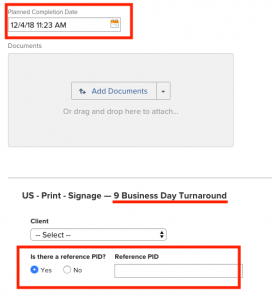
Once the Request is converted to a project it will show up on the My Projects tab. Typically all requests are scheduled within one business day. When entering your request the “Planned Completion Date” field is where you enter the date you need the project by. If you are requesting a project to be completed before the standard turnaround time please send a comment through WorkFront notifying MarCom of the rush to see if it is feasible. The turnaround times are listed in the request form for each project type. You will also be asked, “Is There a Reference PID”. If this is an update to a previous project, select Yes and enter the PID (Project Identification number).
Request Types and Descriptions
Blitz Day Options
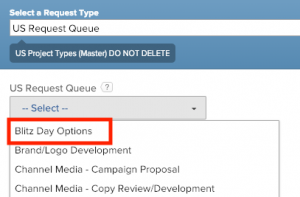
By selecting this option you have the ability to request several projects within one request for any Blitz Day or Vendor Fair.
Project types that can be requested under this option are:
Digital Signage
Email Graphic
Foam Core
Promo Item
Screensaver
Stam Card
Tent Card/Table Stanchions
X-Stands
Based on the options you select you will be prompted to answer questions for the different deliverables. For example, if you select Digital Signage you will be prompted to provide the location and Post and Removal Date for the signage.
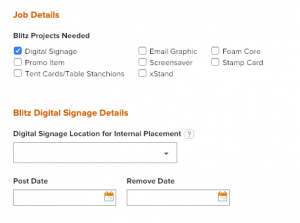
Blitz Day/Vendor Fair Resources
Blitz Day/Vendor Fair Instruction Template
Download the Blitz Day Option Instruction Template. Fill this out and submit it with your request. This will give you guidance and help to ensure you are providing the needed information for MarCom to start working on your projects.
Blitz Day/Vendor Fair Planning Checklist
Download the Blitz Checklist to help you plan and determine needed deliverables for the event.
Proofing Tool
How to Markup Proofs
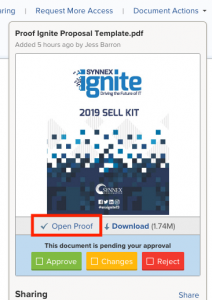
Once a design is created you will be sent a proof. You will receive a notification in Outlook asking for your approval on the proof. You can access the proof by clicking on it from your email or from the Documents tab within the project. To view the proof click on “Open Proof” and this will open the proofing tool.
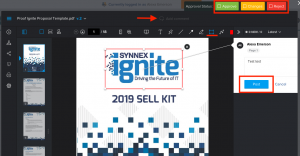
In the proofing tool select “Add Comment” and draw a box around what needs to be changed and type in your comment and then select “Post”. You can select as many items as you need to and type in your changes. Once you have posted all of your comments, Select “Changes”
If there aren’t any changes simply select “Approve”.
Revised Proof
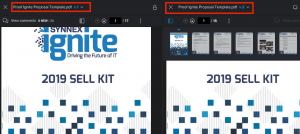
The designer will then update the creative with the requested changes and send you a new proof. If you need to check the new proof with the original you can select the compare proof icon.

This will show you a side by side view of both proofs.
Remember to select either “Changes” or “Approve” or the designer will not be notified that you have left comments or that the proof is approved and can be moved to print production.

